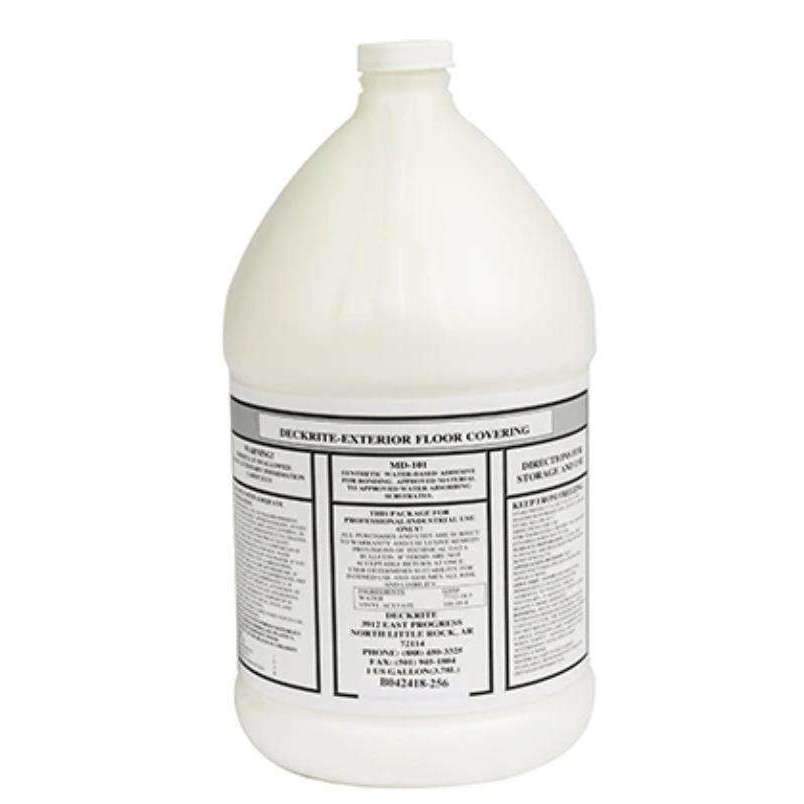
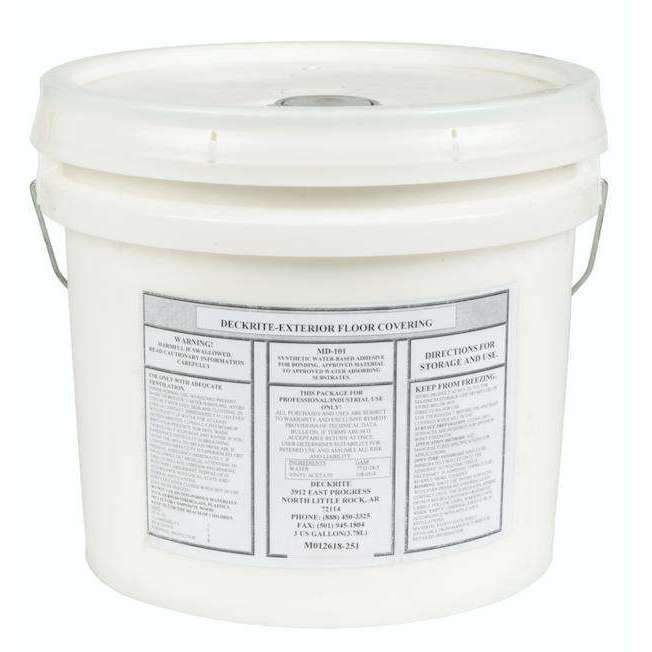
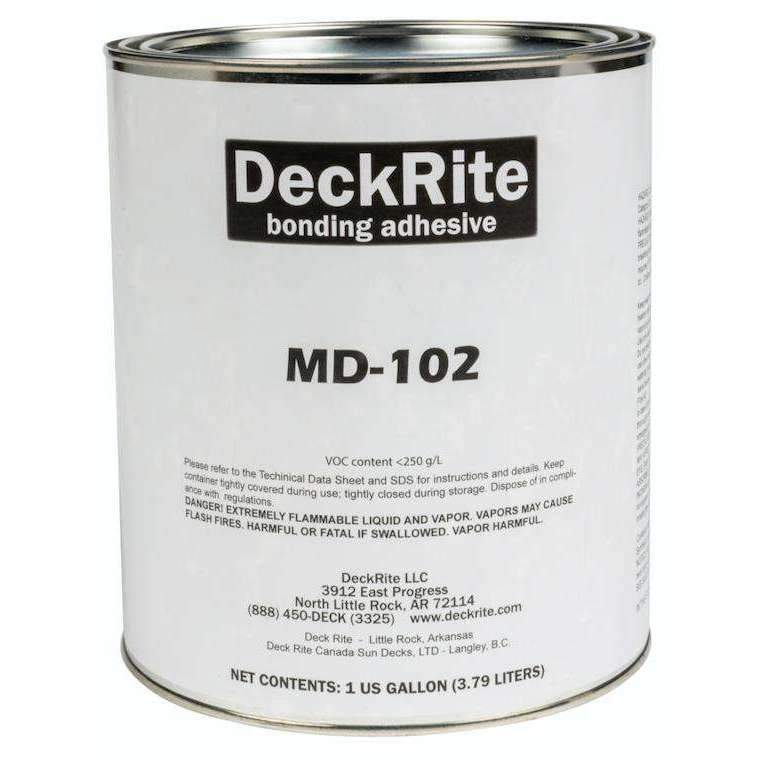
Marine Vinyl Flooring Glue
Quantity:
Total: $ 74.99
Shipping calculated at checkout.
Recommended for Marideck Marine Flooring
Use our Water Based Solvent for Wood and our Solvent Based Glue for Aluminum, Fiberglass or wood.
1 Gallon will usually cover about 14 Feet of flooring (125 sqft)
3 Gallons will usually cover about 42 Feet of flooring (375 sqft)
INSTRUCTIONS
Prep the area to make sure it is clean of all debris. It is best to apply to a smooth surface. Apply the adhesive evenly with a paint roller. Allow the adhesive to dry approximately 5-10 minutes until it feels a bit tacky with your finger. Roll flooring over the glue and apply even pressure. Some People have used a heavy pipe or a simple push broom to evenly press the flooring down on to the glue.
IMPORTANT: If your wood surface is sealed with a water-proofing sealant, then MD-102 (sovent-based) adhesive must be used.
(MariDeck) warrants to the original retail purchaser, that the MariDeck membrane is free from defects at the time of manufacturing. We further warrant that the MariDeck membrane, installed to MariDeck published specifications, will be free from defects for a prolonged period of two (2) years from the date of purchase, providing the membrane was properly installed, maintained, and used for its intended purpose. At no time during the life of this limited warranty, shall DeckRite’s liability exceed the original selling price of the membrane. It is specifically noted that any other components of the boat are not covered under this warranty. TERMS, CONDITIONS & LIMITATIONS A. Owner shall provide DeckRite with written notice of any defect in the membrane within fifteen (15) days of discovery. Should the subsequent DeckRite investigation reveal that the problem(s) were caused by something other than a defect in the membrane, the owner shall be responsible for the cost of investigation made by DeckRite. B. This warranty shall not be applicable for any damage to the membrane resulting from, but not limited to: 1. Natural disaster, including but not limited to earthquakes, lighting, hail, high winds, tornados, hurricanes, etc. 2. Intentional acts, negligence, stains, scuffs, ice or snow removal, failure of Owner to use reasonable care, animals, fires, malicious mischief, vandalism, civil disobedience or improper Original Equipment Manufacturer (OEM) installation error. 3. Settling, warping or other failure of the structure on which the membrane is attached. 4. Alkaline attack, hydrostatic pressure or moisture from the subfloor. 5. Normal wear and tear (i.e. fading, abrasion, etc). C. This warranty shall be null and void if: 1. There is a change in the use of the boat by the Owner or authorized user, which affects the membrane installation. 2. The membrane is exposed to substances or chemicals which are not compatible with the membrane and have not been previously approved in writing by DeckRite. 3. Owner fails to pay the cost of investigation and repair of non-warranted problems. 4. The membrane is damaged, penetrated, torn or altered in any way. D. DeckRite has no obligation under this warranty unless: 1. The bills for membrane have been paid in full to DeckRite, LLC, the OEM or dealer. 2. MariDeck agents or authorized installers are allowed access to said installation, to make inspections, during regular working hours. 3. Owner has exercised reasonable care and maintenance in accordance with the recommendations of the manufacturer. E. It is expressly agreed that the Owner’s sole remedy to a defect in the membrane is replacement of the defective membrane. F. This limited warranty, issued at the office of DeckRite LLC, 3912 East Progress, North Little Rock, Arkansas, 72114, and accordingly governed by Arkansas law, is not transferable.
NOTE: Deckrite does not warrant products incorporated or utilized in this installation, which is not furnished and specifically disclaims liability, under any theory of law, arising out of the installation or performance of, or damages sustained by or caused by, products not furnished by deckrite. This limited warranty, given by deckrite, supersedes, and is in lieu of all other warranties or guarantees, whether written or oral either expressed, implied or statutory, including the implied warranties or fitness for a particular purpose and merchantability, which extend beyond the face of this certificate. Deckrite shall not be liable for any incidental, special or consequential damages including, but not limited to, loss of profits, damage to the boat or its contents, under any theory of law. No representative of deckrite has any AU
MariDeck PVC Marine Vinyl is designed for installations on wood, aluminum or fiberglass surfaces. The product is adhered to the surface using either MD–101 (for wood applications), or MD–102 (for aluminum fiberglass applications) adhesive. The instructions below describe a typical installation.
Read through the instructions completely prior to beginning your installations. If you have any questions, feel free to call (888) 450-DECK for assistance.
Suggested Tools List
- Measuring Tape 9”
- Medium Nap Paint Roller With 4’ Extension
- Scissors
- Push Broom or Linoleum Roller
- Utility Knife
- Throw Away Rags
Surface Preparation
Ideally, it is best to remove any objects that are attached to the boat floor. Also remove any plastic or metal trim pieces. These will be reused to secure the edges of the vinyl after application. The removal of all seating, tables, trolling motors and electronic devices, etc., will allow for an easier and better application of the MariDeck product.
Any existing carpet or vinyl will also need to be completely removed in addition to any adhesive residue left on the surface to be covered. It is very likely that wood boat decks (pontoons) will require the complete removal of the existing wood surface and the replacement with new wood.
MariDeck recommends ¾” pressure treated plywood or marine grade plywood screwed to the structure. Consult MariDeck if another surface is required. Install new wood securely with high quality moisture resistant screws. Plywood sheets should be butted against each other leaving no more than a 1/32” space.
Wood Surface Application - MD-101 (water-based adhesive) - 1 surface application
**DO NOT SEAL THE PLYWOOD: If your wood surface is sealed with a water-proofing sealant, then MD-102 (solvent-based) adhesive must be used. The water-based adhesive must be applied to a porous surface for the membrane to adhere properly.
**For MD-102 (solvent-based adhesive) please refer to Aluminum/Fiberglass surface application instructions.**
Prior to applying the MariDeck vinyl, inspect the surface of the boat to be covered to make sure all debris, saw dust, screws, or any foreign objects have been removed. Use a leaf blower or broom at this time to ensure the surface is completely clean.
Be extremely careful when unwrapping the roll. Sharp objects can damage the MariDeck vinyl. Take caution in removing the packaging to avoid damage to the product.
After the packaging has been removed, unroll the vinyl over the surface to be covered. Take this time to determine that the roll is of sufficient length to cover the surface required. Center the vinyl on the surface and adjust for appropriate overhang requirements on all four sides. Pull out any wrinkles or folds in the vinyl if they exist.
Once the vinyl is adjusted to the ideal position, install a couple weighted objects (i.e., tool box, adhesive pail, brick) on the membrane at one end of the boat. The weighted objects should be within 24” from the edge of the boat. Starting at the opposite end of the boat, roll the membrane loosely back to the weighted objects. As you roll the vinyl, try to maintain a straight and consistent roll.
Wood surface applications require the use of MD–101 adhesive. Prior to opening, shake the glue container slightly for 60 seconds. The glue should have the appearance and consistency of Elmers glue/thick white paint. Coverage rates for the MD-101 are approximately 125/SF per gallon. Depending on the ambient temperature, the adhesive will begin to dry relatively fast after application. If you are working alone, do not try to install more than 15 linear feet at a time. The vinyl needs to be applied when the adhesive is wet.
Open the container and pour the adhesive in a serpentine pattern onto the wood deck in front of the roll. The serpentine ribbons of adhesive should be approximately 1.5” wide. Cover an area that extends the width of the roll and out form the roll 15’. Using the medium nap paint roller, roll over the adhesive blending it together and completely covering the wood surface. The consistency and coverage of the adhesive should represent a heavy coat of paint. Do not leave puddles of adhesive or dry spots on the wood surface. Finish the area of adhesive application in a relatively straight line across the width of the boat.
Standing on the vinyl near the weighted objects, slowly and carefully begin to unroll the vinyl over the freshly applied adhesive. Make sure that the roll is unrolled straight and wrinkle free. If a wrinkle does appear, lift the roll of vinyl off the adhesive slightly and straighten to remove the wrinkle. Continue to unroll the vinyl to cover all of the adhesive.
Take a clean stiff bristle push broom and sweep over the surface installed using medium pressure. The process will help distribute the adhesive under the vinyl evenly and help provide for consistent contact between the adhesive and vinyl. Make sure any air pockets are pressed out if they exist
Return to the beginning of the roll and remove the weighted objects. Fold the vinyl back exposing the un-adhered wood surface. Apply adhesive as described above and follow the same vinyl application procedure.
The remaining vinyl (or next 15’) can now be adhered to the wood surface. Make sure the new application of adhesive slightly overlaps the previous to eliminate voids in the coverage. It is acceptable to separate the adhered vinyl from the initial adhesive to ensure 100% coverage as long as the vinyl has not dried. Complete the application as described above.
Drying Time
You can walk on the vinyl immediately after installation. However, excessive walking and foot traffic could put small wrinkles in the vinyl. Take caution in walking on the surface and always inspect the area after contact. In dry weather conditions and temps 60 – 90 degrees F. The glue will be dry in 2-3 hours. It is recommended that the glue be allowed to dry completely overnight before installing seating and equipment.
Aluminium/Fiberglass Surface Application - MD-102 (solvent-based) - 2 surface application
Prior to applying the MariDeck vinyl, inspect the surface of the boat to be covered to make sure all debris, dust, screws, or any foreign objects have been removed. Use a leaf blower or broom at this time to ensure the surface is completely clean.
Fiberglass surfaces will likely require that the surface be etched using a coarse grade of sandpaper. This will allow for better adhesion. Remove all fiberglass dust prior to applying adhesive.
Follow the package removal instructions as listed above.
In most cases, applications over aluminum or fiberglass require pre-cutting the vinyl into the appropriate shapes and sizes required for the specific area of the boat. Carefully measure the shapes and sizes allowing for appropriate coverage. If a larger surface is to be covered, utilize the same installation method described above using the appropriate adhesive and procedures outlined below.
MD-102 is very flammable. Keep all adhesives away from children and do not use this product near an open flame or high heat. MD-102 should be installed in a well-ventilated area.
Once the sizes are cut, apply MD-102 solvent adhesive to the non-woven polyester backside of the vinyl using a small nap paint roller (smaller areas may require the use of a 3” roller). Coverage rates for the MD-102 are approximately 50-60/SF per gallon. Be careful not to get adhesive on the topside of the vinyl. Removing spilled or excess adhesive is extremely difficult. Then apply a thin coat of MD-102 adhesive onto the surface to receive the vinyl piece. Again, be careful in the application. Only apply enough adhesive to be covered by the vinyl. Allow the adhesive to set for 10-15 minutes.
**Note: If you apply the adhesive too thick, you may notice air "gas" pockets under the vinyl after approx. 24 hours. Please do not attempt to remove the vinyl and do not seal the edges. These "gas" bubbles will go away. If possible, move the boat into the sunlight. This will speed up the process of allowing the gases to "escape" and the material will lay flat. Depending on ambient temperature and amount of excess glue, this process can take 2-3 days.
The adhesive is ready for application when you can touch the adhesive on the aluminum with your finger, and feel only a slight tackiness. If “legs” or “strings” appear between your finger and the adhesive, allow another 5 minutes to dry and retest. Do not wait longer than 15 minutes to apply the glued vinyl to the glued surface.
Carefully apply the glued piece of vinyl without wrinkles or air bubbles. MD-102 is a solvent based contact adhesive and will require quick installation. Make certain the vinyl pieces are positioned correctly before applying. After the piece of vinyl is applied, use your hand to smooth out any air bubbles or wrinkles while ensuring uniform contact.
Follow the same instructions for subsequent pieces of the vinyl.
Seams
It is possible to overlap the vinyl and create a seam although exposed seams should be avoided as much as possible. In pre-cutting the vinyl pieces, try to utilize pieces of vinyl that will hide the seams under overhangs, under seats or aligned with the seams in the aluminum. You can also butt seams by performing a “wall paper cut”. Overlap the two pieces of product then, following the edge of the top vinyl, use a sharp utility knife to cut through the bottom vinyl. Fold the top layer back slightly, remove the trimmed piece of bottom vinyl, and then, fold the top layer back in place to butt the vinyl.
Drying Time
MD-102 adhesive dries very quickly. Allow a minimum 1-hour drying time before installing seating and equipment.
For Technical Assistance call (888) 450-DECK.
Choose options


Frequently Asked Questions (FAQ'S)
Yes. If you don't have a smooth surface you may end up with an uneven floor. It may also damage the flooring. The glue may also not hold properly.
PRO TIP #1: Replace all the boards with new marine grade plywood to save yourself a lot of time and effort
PRO TIP #2: If you don't replace the boards, consider removing the old carpeting and remove as much adhesive as possible.
You can then flip the wood and use the other side assuming it's still in good shape to ensure a really smooth surface.
- Job site conditions: Ensure the job site meets or exceeds the standards set by both the carpet manufacturer and AAT.
- Sub-floor preparation: Prepare the subfloor according to the latest version of ASTM F-710 standards, which likely involves checking for smoothness, removing contaminants, and ensuring proper moisture levels.
- Environmental conditions: Maintain a temperature range of 65°-90°F and relative humidity of 35%-65% for at least 48 hours before, during, and after installation for optimal results.
The glue should not be applied in freezing temperatures.
No, the glue will turn into a blob under 32 F degrees.
The typical cure time for AAT-390 is 24-48 hours, depending on temperature and relative humidity. However, the document emphasises that for optimal results, the sub-floor, flooring, and adhesive should be at a minimum of 65°-90°F and 35%-65% relative humidity for at least 48 hours before, during, and after installation.
The recommended trowel size for applying AAT-390 with marine carpet is a 1/8 x 1/8 x 1/8 V-notched trowel. The document also provides an approximate coverage rate of 108 square feet per gallon when using this trowel size.
Customer Testimonials
Other Products You May Also Like
Learning Resources

Choosing the Right Vinyl Gauge for Porch Windows, Greenhouses, and More
Selecting the correct vinyl gauge for outdoor applications like porch windows, greenhouses, and patio enclosures is essential for ensuring durability, clarity, and weather resistance. Homeowners an...
Read more
Beyond The Boat: Unexpected Uses For Flexa Marine Vinyl Fabric
Most people think marine vinyl fabric belongs only on boats. They see it covering seats on fishing vessels or lining the interiors of luxury yachts. This tough material serves boat owners well, but...
Read more
You spent a lot of money on your marine vinyl, so you must take the right steps to protect it and prevent damage. Repairing damages and removing stains is difficult to do, so be sure to take the ...
Read more

